


- LookbookGet inspired by the latest lash looks and dive into the artistry trends that we’re obsessing over.
- TutorialsFreshen up on your fundamental classic and volume techniques with our tutorial editorial.
- Product + SafetyGet the lash lowdown on all things product and safety from our resident lash experts.
- Latest
tutorials
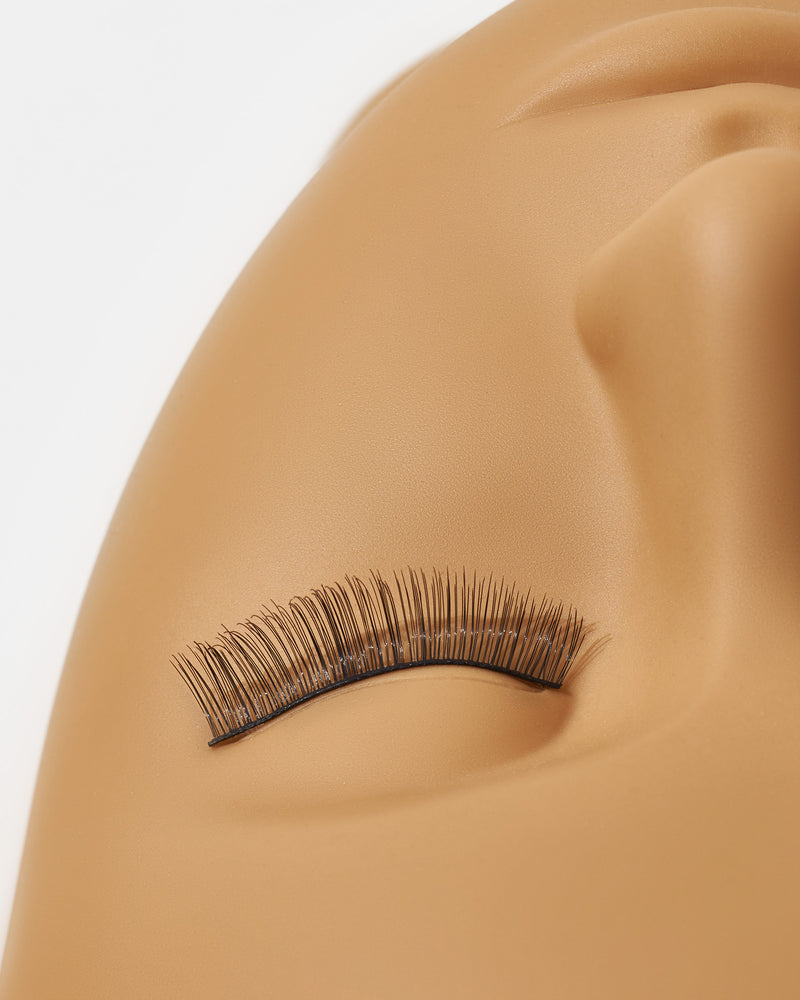
Lashing Basics: A Beginners Guide To Lash Isolation
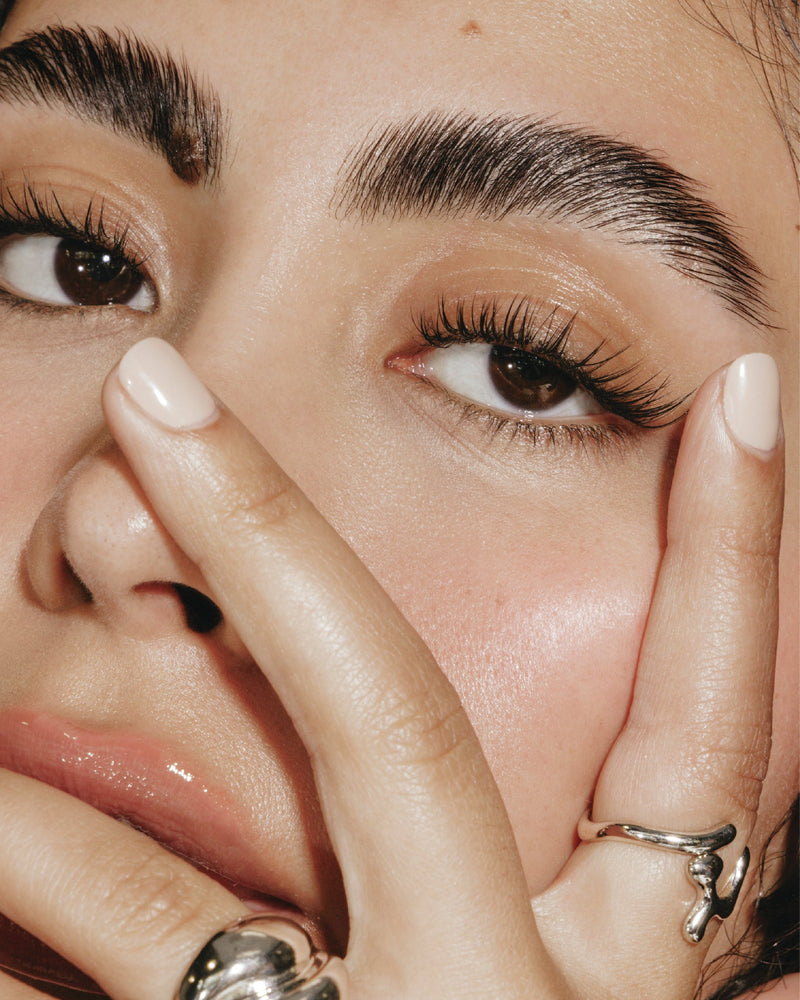
Maintaining the structural integrity and health of the natural lash is essential when lashing—making isolation our natural lashes’ new best friend.
The Complete Guide to Lash Isolation for Every Lash Artist
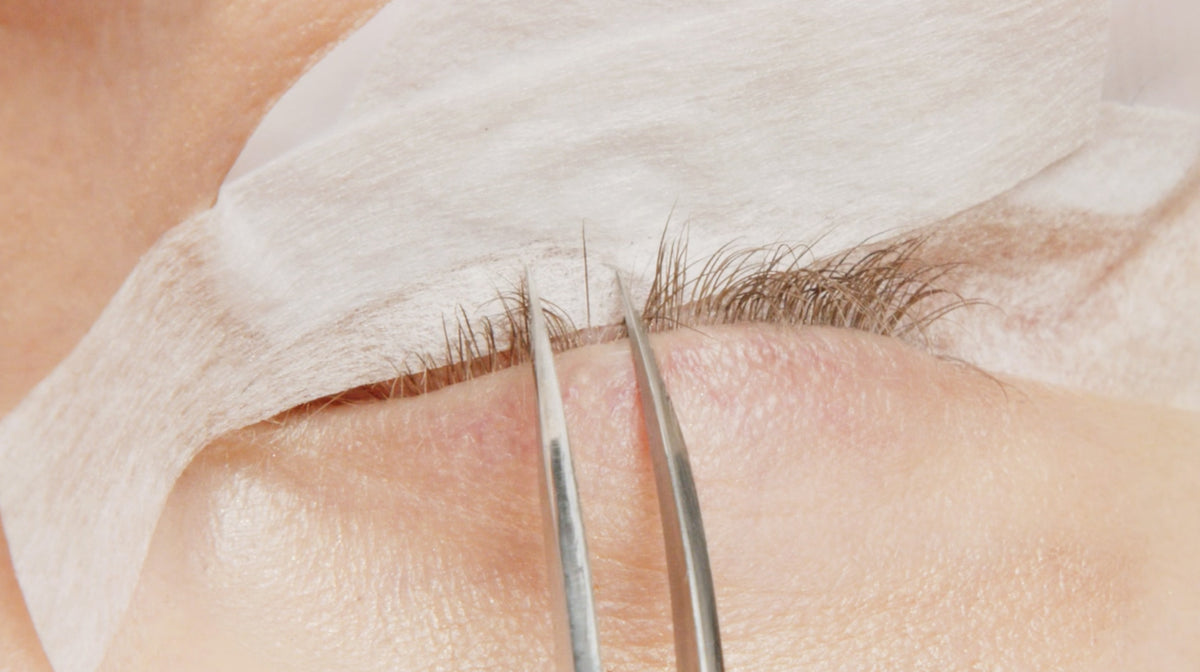
We like to say that isolation starts and ends with the golden ratio: one extension to one natural lash. Classic, Volume, and Hybrid artistry all depend on clean isolation. Every natural lash needs to be separated before an extension is applied so it can grow, shed, and move freely. When isolation is done correctly, your sets look cleaner, your work lasts longer, and your clients stay comfortable from appointment to appointment.
Why Isolation Matters
Isolation is the foundation of safe lashing. Without proper separation, multiple natural lashes can get bonded together. This creates tension during the growth cycle, leads to premature shedding, and causes discomfort. Clean isolation:
- Protects the natural lash from damage
- Improves retention
- Allows each extension to sit exactly where you place it
- Keeps the lash line fluffy, flexible, and natural looking
- Prevents stickies that ruin the flow of a set
Think of isolation as the quiet skill that makes every other part of your artistry possible.
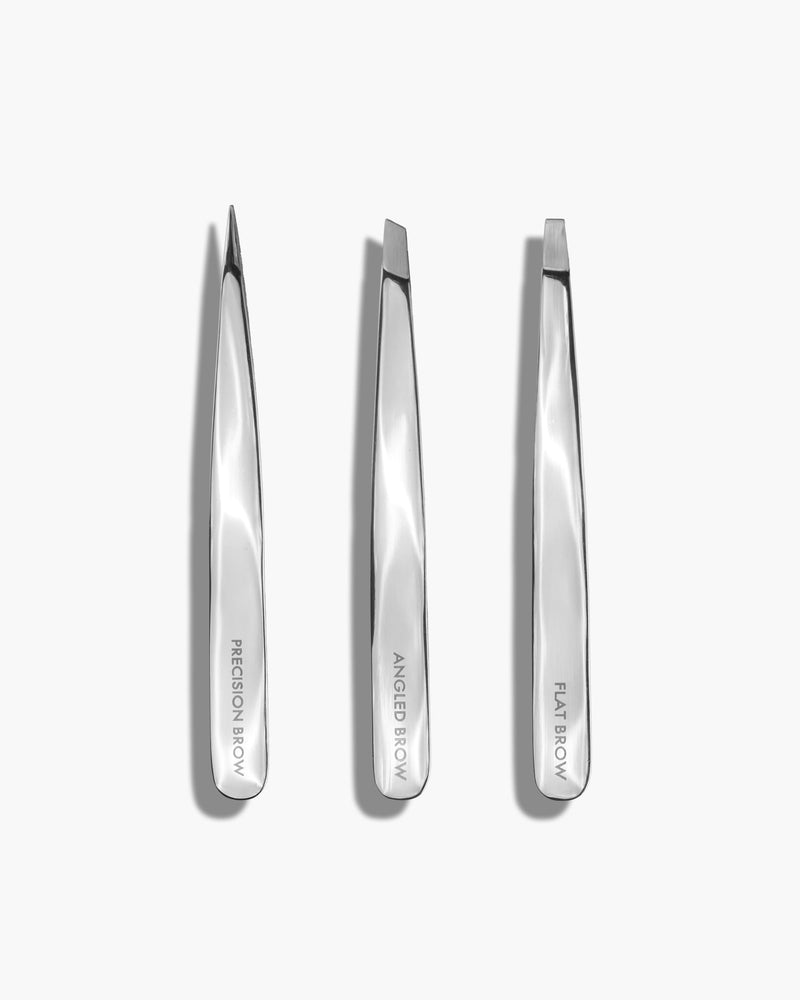
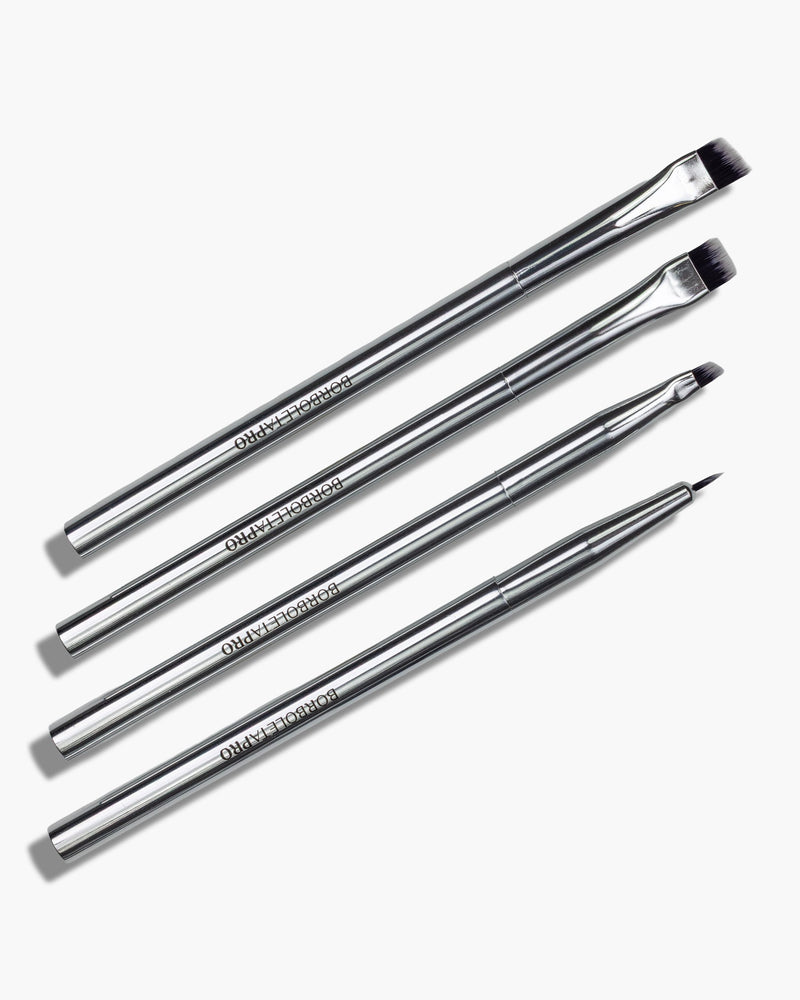
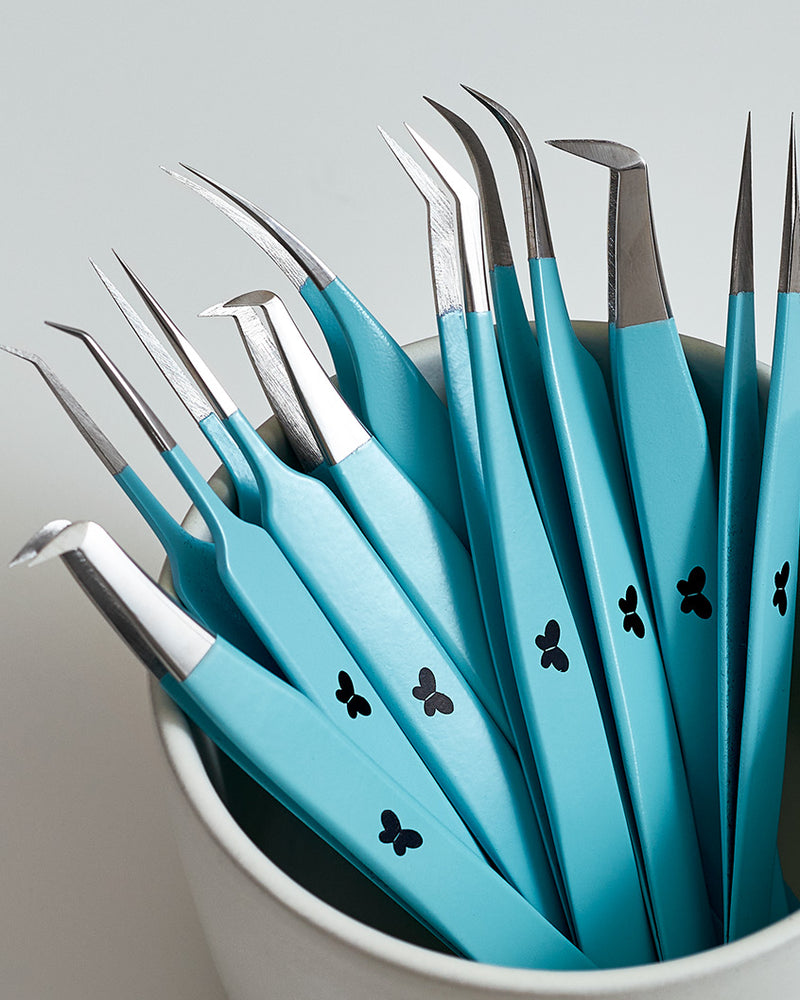
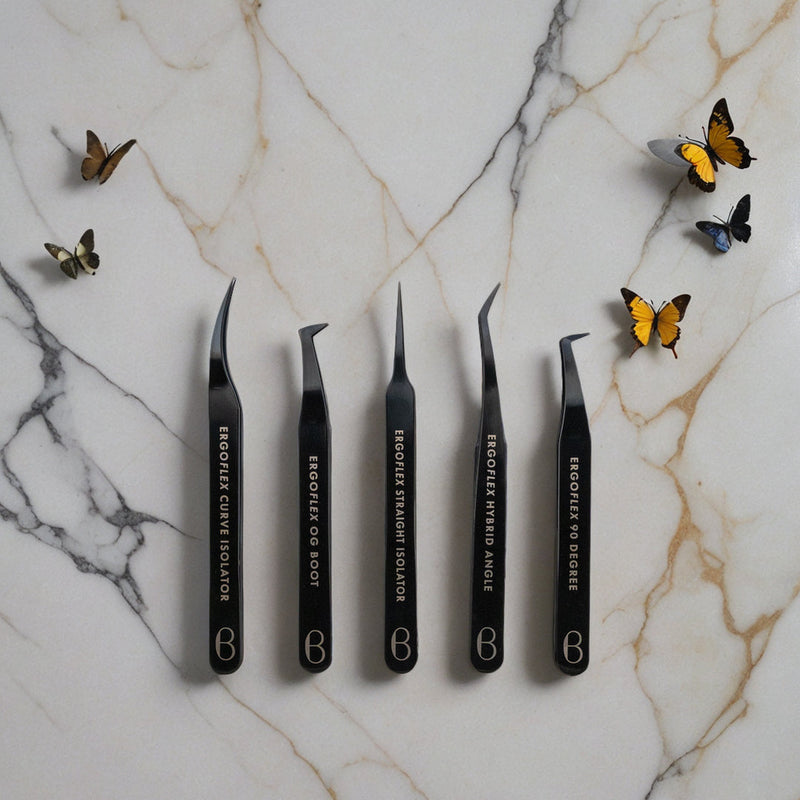
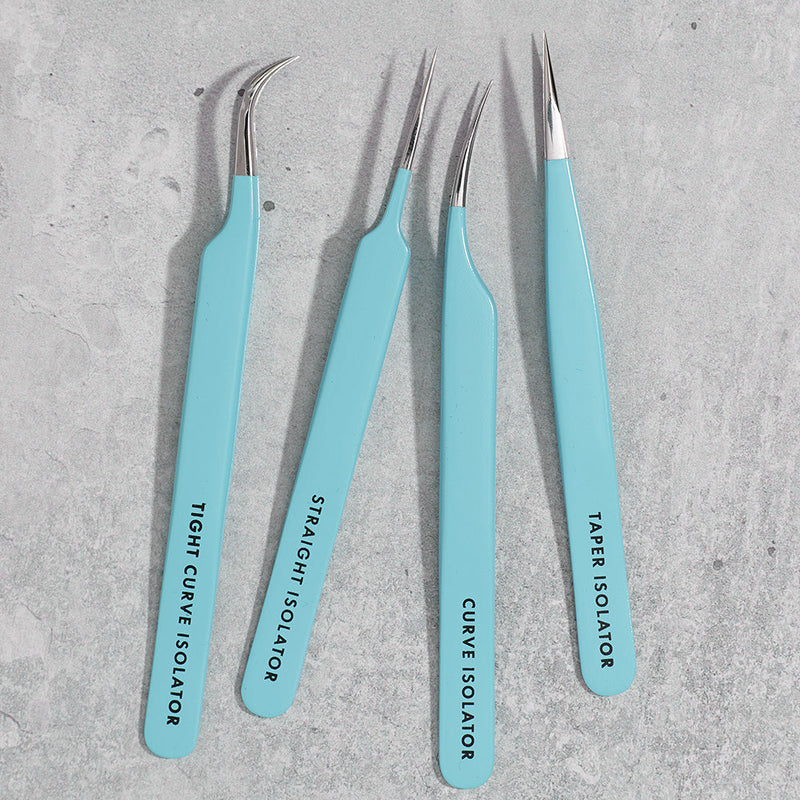
The Perfect Tool
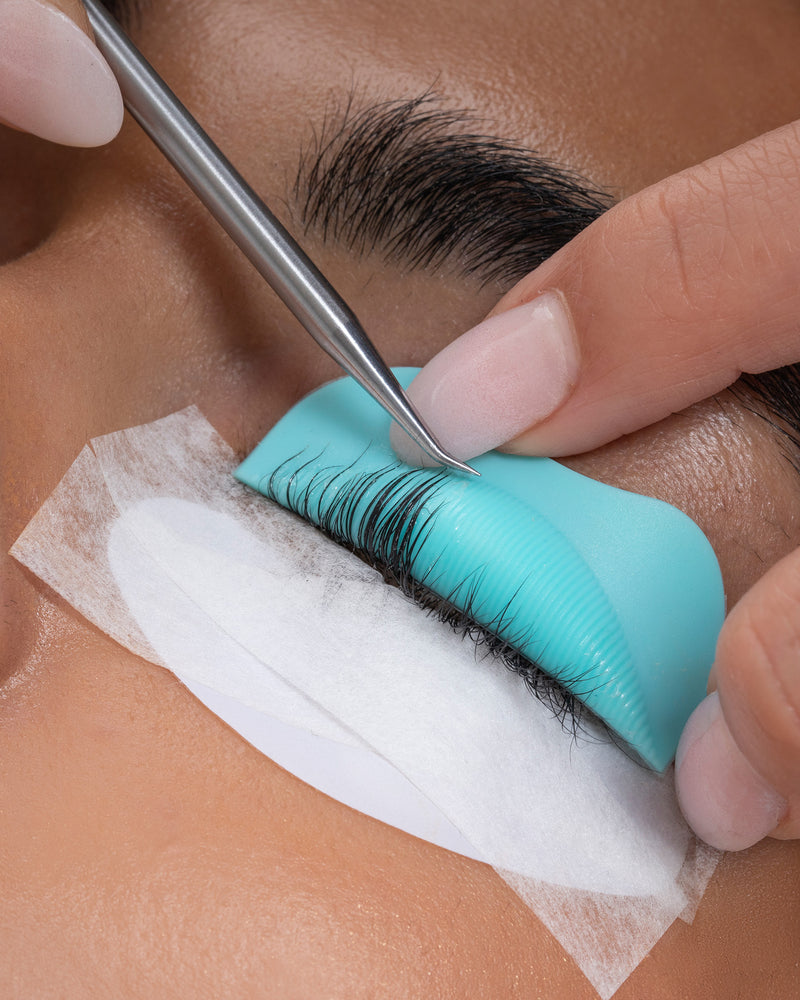
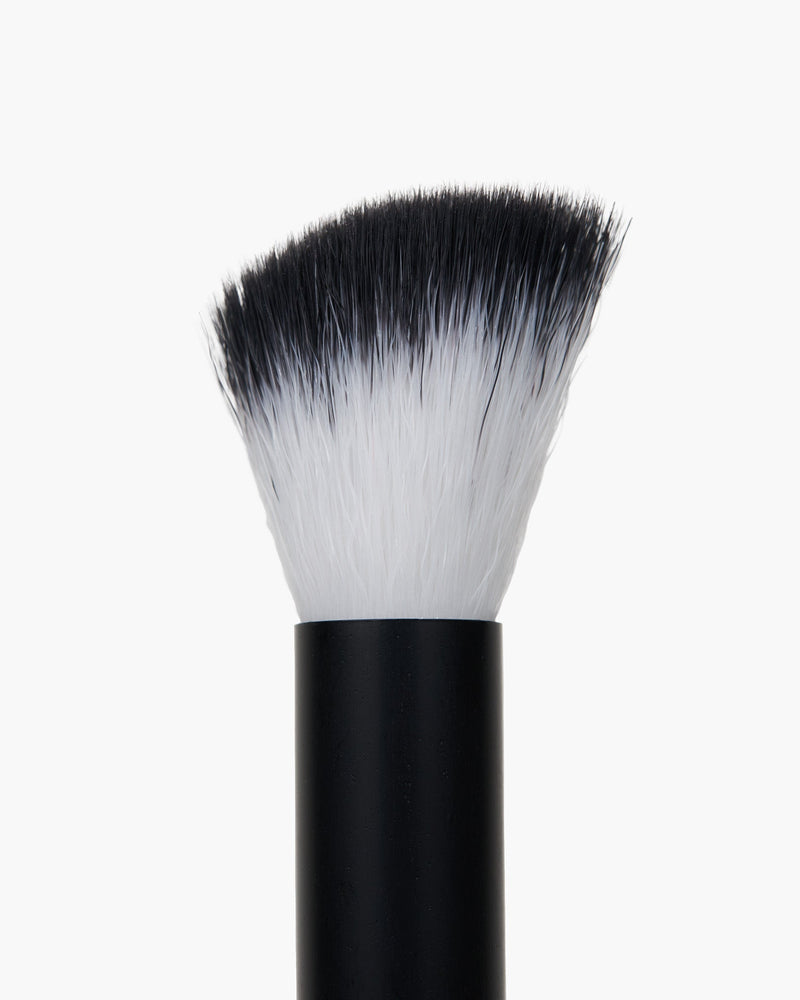
To start, you’ll need one or two of your preferred isolator tweezers. We’re fans of the Curve Isolator because it offers visibility, precision, and a comfortable tension level that keeps your hands relaxed during long appointments. Any isolating tweezer you choose should be sharp enough to separate even the tiniest baby lashes, supportive enough to maintain control, and shaped in a way that allows you to see the full lash line clearly.
You can shop our full lineup of isolator tweezers to find your ideal match for your lashing style.
How to Isolate Like a Pro
Step 1: Position Yourself Correctly
Good isolation starts with smart ergonomics. Sit close enough to your client so you don’t strain your shoulders or neck, and adjust your lash bed so you can see the lash line without hunching. Proper lighting makes a huge difference here. Bright, even lighting helps you find the tiny lashes that tend to hide in the lash line.
Step 2: Work in Sections
Divide the lash line into thirds. Working in small areas helps you stay consistent and prevents chaos in the layers. You’ll isolate faster and more accurately when your focus stays on a small zone rather than the full eye.
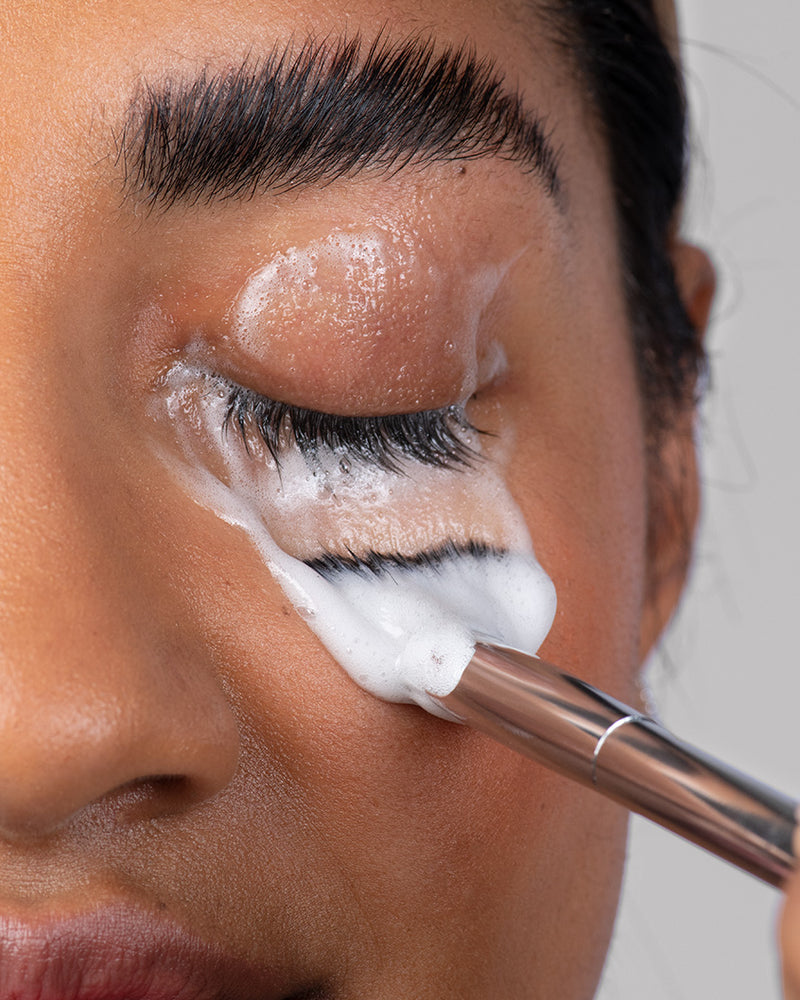
Step 3: Use the Natural Lash Layers
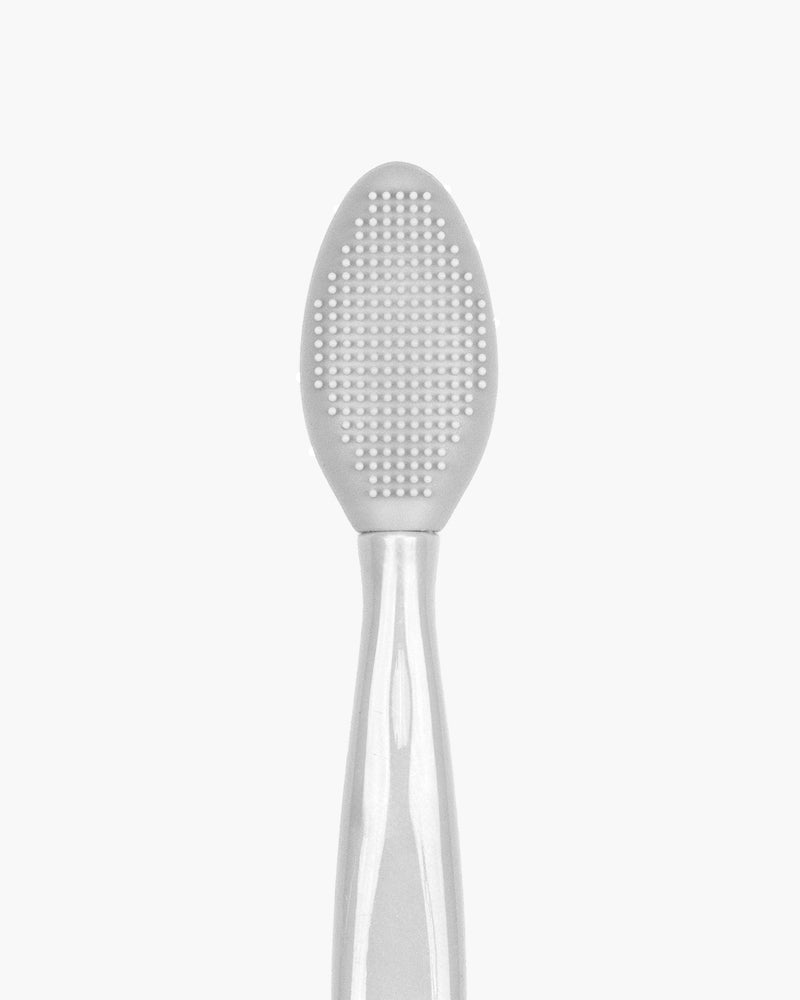
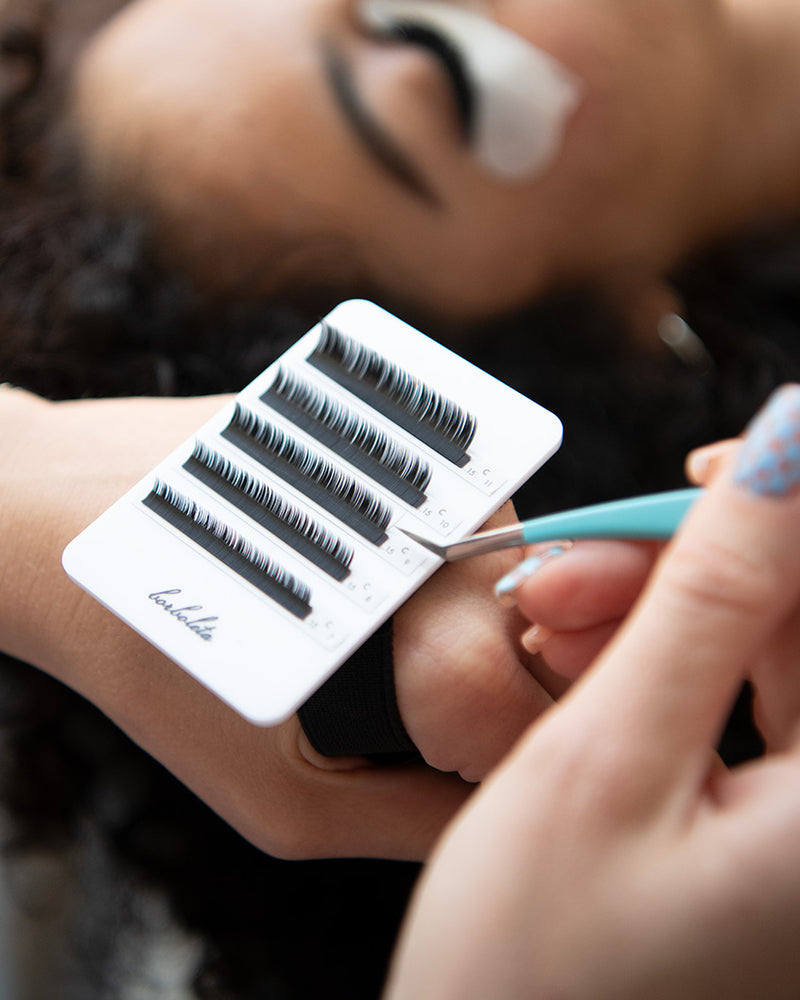
Lashes grow in layers, and isolating becomes smoother when you work with those layers instead of fighting them. Lift the top layer gently with your isolator or a lash card. This exposes the middle and bottom layers so you can isolate cleanly without guessing where the natural lash is hiding.
Step 4: Secure the Baby Lashes
Baby lashes are the most common cause of stickies. They move unpredictably and like to pop into the lash you just isolated. You can control this by slightly shifting your isolator to block the surrounding lashes or by gently moving baby lashes aside with the tip of your tweezer.
Step 5: Keep Your Isolation Still
Once you find a clean separation, hold it steady. A shaky isolator makes placement harder and leads to adhesive touching neighboring lashes. Rest your pinky or ring finger on your client’s forehead to anchor your hand and keep your isolation consistent.
Step 6: Place the Extension with Intention
With a cleanly isolated natural lash, place your extension in the direction you want it to lay. Controlled placement reduces twisting and helps the extension grow out neatly with the natural lash.
Common Isolation Mistakes to Avoid
Rushing Through Sections
Speed is built through technique, not skipping steps. Rushing creates stickies and forces more cleanup later, which extends appointment time instead of reducing it.
Ignoring Lash Growth Patterns
Some natural lashes grow sideways or at an angle. Isolation helps you correct this. Adjust your angle and tweezer position so each extension is bonded to a fully separated lash that sits exactly where you want it.
Using Tweezers with Too Much Tension
Tweezers that feel stiff make your hands work harder than they need to. Relaxed tension prevents fatigue and improves accuracy during longer services.
Isolating Too Close to the Lid
Hovering too close to the lid causes discomfort and reduces visibility. Move slightly above the lash line so you can fully see the root of each lash.
Tips for Faster and Cleaner Isolation
- Keep your adhesive fresh to prevent lashes from sticking while you isolate.
- Lash map before you start so you know where each lash belongs.
- Use a gentle lift technique to separate layers without bending or pulling.
- Re-isolate immediately after placing a lash to ensure no neighboring hairs were accidentally grabbed.
- If a sticky happens, correct it right away instead of waiting until the end.
How Seasoned Artists Level Up Their Isolation
Experienced artists often refine their work by mastering:
- Micro-isolation for shorter lashes
- Layer manipulation to create advanced texture
- Correcting crisscrossed or naturally curly lashes
- Switching between tweezer types based on the area of the eye
- Identifying the perfect adhesive pairing for clean placement
The more you isolate with intention, the more consistent your sets become. Your lines look smoother, your fans sit straighter, and your fills remain efficient because every lash is bonded cleanly.
Shop BorboletaPro For Professional Lash Supplies
Isolation is the core skill that shapes comfort, lash health, and the overall quality of every set you create. When you refine your technique and stay consistent with clean separation, your retention improves, your placements sit exactly where you want them, and your artistry becomes noticeably more polished. The right tools make this even easier. Explore our full lineup of isolator tweezers to find the perfect fit for your lashing style and bring even more precision to every appointment


THE PERFECT TECHNIQUE
Once you’ve secured your tool(s) of choice, you’ll begin to comb through the lashes, allowing your lead tweezer to gently open and expose lashes section by section. You’ll use the second, supporting tweezer to assist with combing and to further isolate an individual lash by pushing back the lashes on either side. Of course, this is easier said than done. Lashes grow in layers and different directions making isolation a technique that takes time, practice and patience to perfect.
More of a visual learner? Check out our Lashing Basics: Isolation tutorial below to see this technique in action.


As with everything, don’t forget to practice, practice, practice! Mastering the art of isolation is one of the first steps to creating beautiful, healthy sets of lashes. And don’t forget to tag us on our IG @borboleta.pro to share all of the fabulous looks you create for your clients.
Want a deeper dive into Isolation? Check out our online and in-person education lineup here.
