


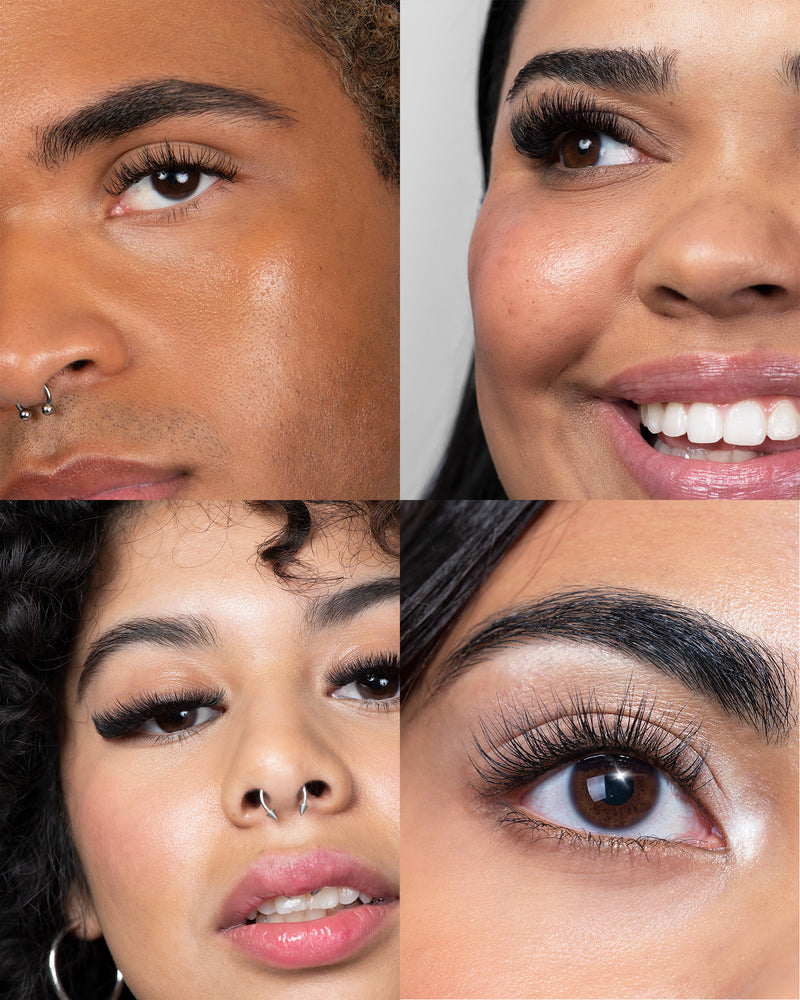


- LookbookGet inspired by the latest lash looks and dive into the artistry trends that we’re obsessing over.
- TutorialsFreshen up on your fundamental classic and volume techniques with our tutorial editorial.
- Product + SafetyGet the lash lowdown on all things product and safety from our resident lash experts.
- Latest
tutorials
Lashing Basics: A Beginners Guide To Blueprinting
Lash blueprints are the key to providing structure and injecting artistry into your lashing. Follow along with our easy 5-step guide to nail this lashing basic.

Natural. Long and lifted. Fluffy and dramatic. No matter the look, blueprinting allows you to map out your game plan for each client, and helps ensure that every curl, length and diameter of extension is perfectly placed. To get started, you’ll need a trusty fine-point pen (we’re obsessed with black Sharpies), our bio gel pads, and tape. Let’s go!

STEP 1 - Map your workspace
Using your client’s natural lashes as a guide, mark the inner and outer edges of your workspace. One line should be drawn above the first inner corner natural lash of your set, and one line above the last outer corner natural lash of your set.

STEP 2 - Label the corners
Label the shortest section of the inner corners with the smallest extension length you’ll use in your set—our Borboleta Best Practice is to use a 7mm lash.
Pro Tip: Always label your extension length on the side of the line closest to the ear.

STEP 3 - Label the peak
Using the peak of the eyebrow as your guide, draw a line on your blueprint to either mark the longest extension length of your set, or the inflection point of a set (if you're creating a more dramatic look).

STEP 4 - Divide the inner workspace
Divide the workspace between the inner corner and peak lines into enough equal sections to incrementally taper down from peak to inner corner. For example, if you are using a 12mm extension at the peak, divide your workspace into 4 sections between the peak and inner corner to accommodate an 11mm—10mm—9mm—8mm taper down.

STEP 5 - Divide the outer workspace
Divide the outer corner section in half to complete your workspace. Depending on the look your client has requested, you could either repeat or add length here to achieve a more dramatic look (hello, cateye!), or taper back down to create a lovely natural, rounded set.
Pro Tip: Curl and diameter mixing, and length and lash-type staggering can add great texture to any look.
More of a visual learner? Check out our Lashing Basics: Blueprinting tutorial below for a great beginner blueprint how-to for lifting round eyes.


Last but not least, don’t forget to practice, practice, practice! Blueprinting in a notebook is a great way to build up your confidence and your skills. And don’t forget to tag us on our IG @borboleta.pro to share the fabulous looks you create for your clients!
Want a deeper dive into Blueprinting? Check out our online and in-person education lineup here.

