


- LookbookGet inspired by the latest lash looks and dive into the artistry trends that we’re obsessing over.
- TutorialsFreshen up on your fundamental classic and volume techniques with our tutorial editorial.
- Product + SafetyGet the lash lowdown on all things product and safety from our resident lash experts.
- Latest
tutorials
Lashing Basics: Nailing the Volume Set
Ready to turn up the volume? This easy-to-follow, 10-step tutorial covers all the fundamentals of volume lashing, including three different techniques to perfect your pro prep.
Whether you’re new to lashing or a seasoned artist this tutorial recreates a stylized cat eye that draws the eye out and up— making it the perfect set for freshening up on your Volume technique.
Let’s begin!
DOWNLOAD YOUR DIGITAL BLUEPRINT

STEP 1 - Remove Makeup
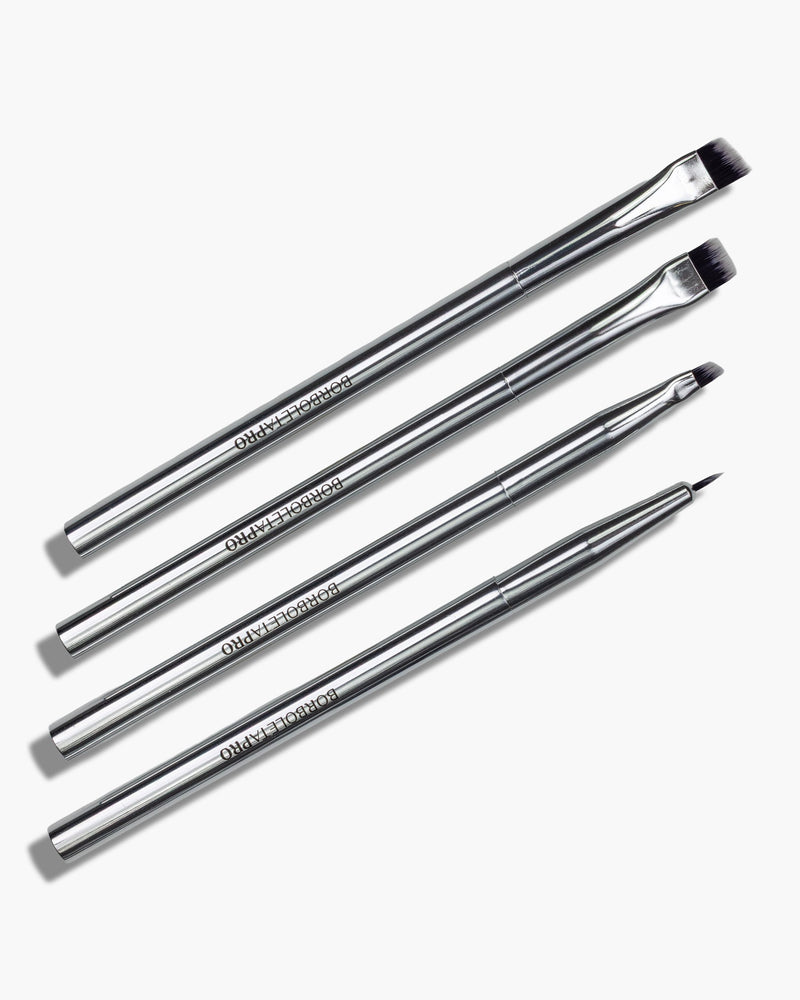
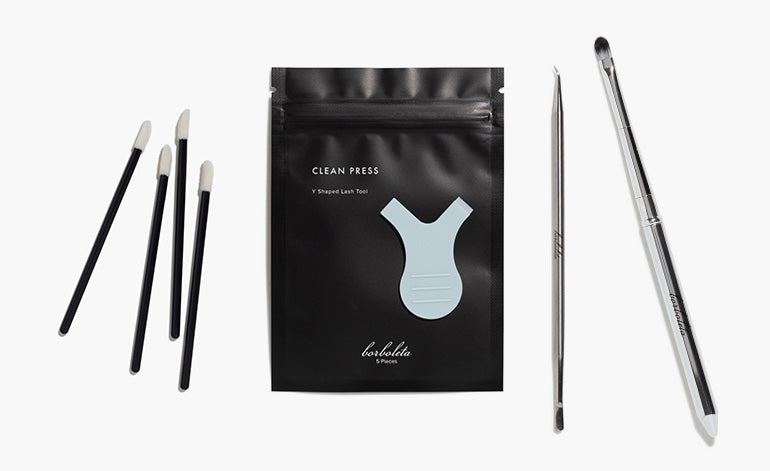
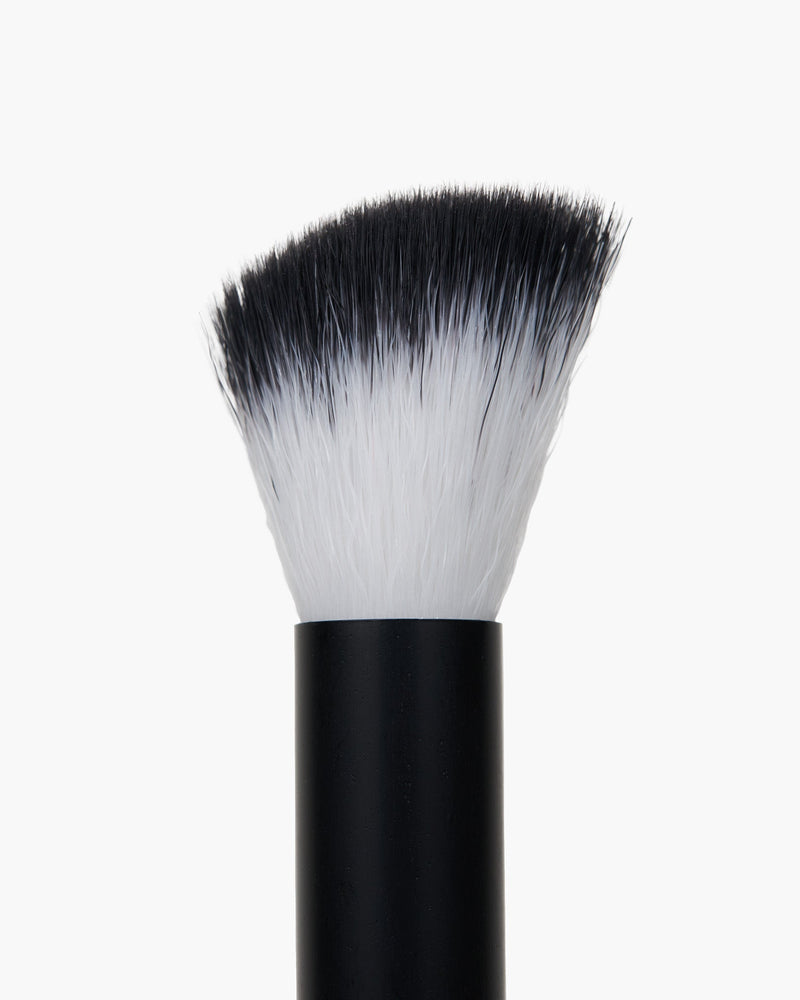
Clean lashes are a must before beginning the application process to ensure optimal extension retention. Using our Breakdown Makeup Remover and the Clean Swoop brush, remove any makeup from your guest’s natural lashes by saturating the brush with Breakdown, and working the product into the lash line and all around the eyelid.

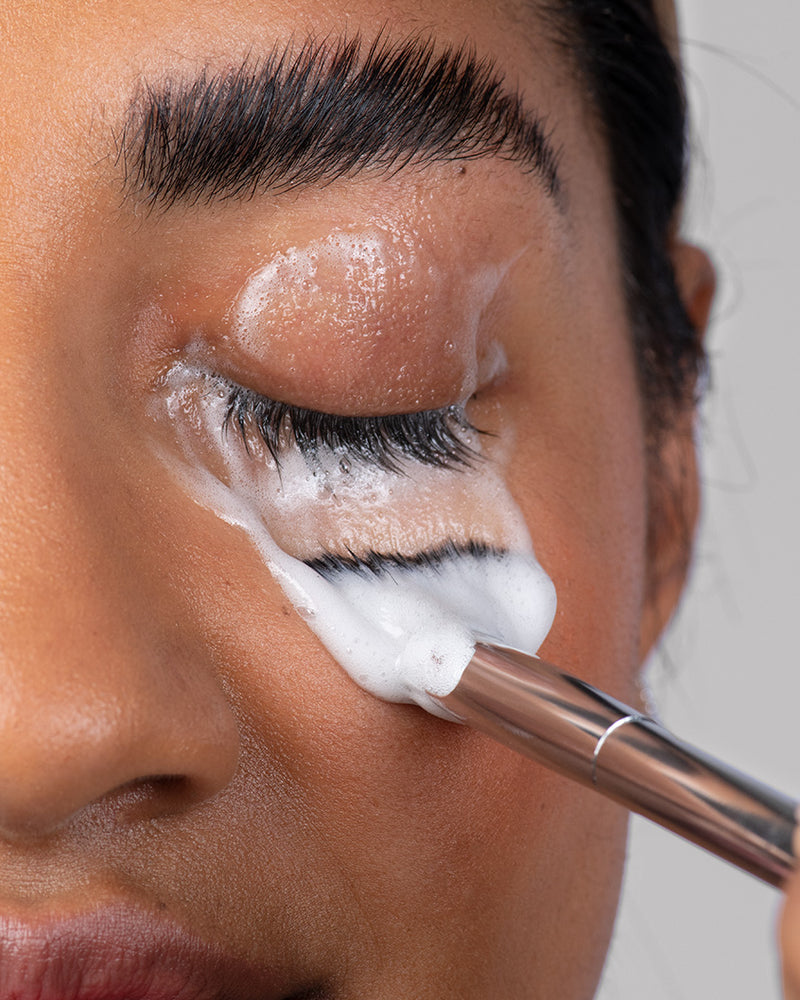
STEP 2 - Cleanse
With makeup removed, clean your client’s lashes using our Lash Bath Gel or Foam cleanser. Again, using the Clean Swoop brush gently work the cleanser deep into the lashline to remove any lingering oil, dirt or debris. To finish, rinse with warm water and dry with a towel.
Pro-Tip: Even if your guests don’t arrive wearing any visible makeup, always make sure to cleanse their lashes. In addition to this being a soothing, hydrating step that guests love, squeaky, clean lashes are essential for optimal retention.

STEP 3 - Tape
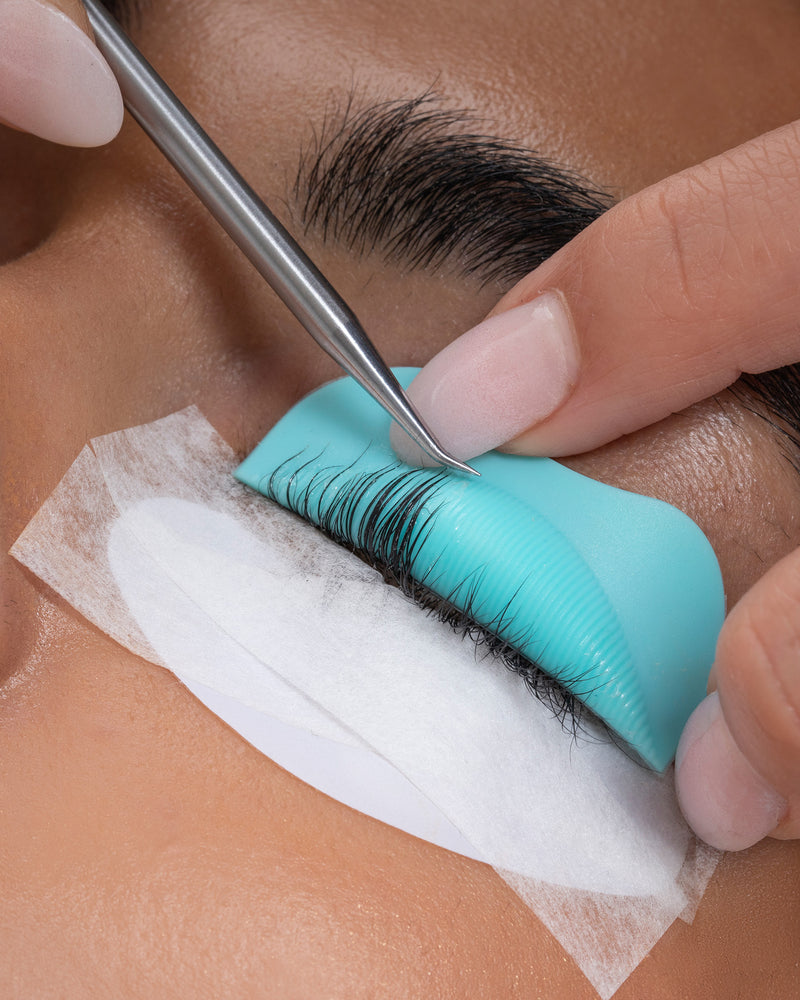
Avoiding the waterline, secure the lower lashes in place using Bio Gel Pads and tape. To begin, use the Bio Gel Pads to lock down the tips of the lower lashes. Depending on your client’s eye shape and your preference, you can choose from either our Clean or Asymmetrical Curve shapes. Then making an X-shape, use two pieces of tape to lock down both the lower lashes on the outer and inner corners of the eye.
With the client’s eyes closed, make any necessary micro adjustments to ensure that the lower lashes are secured and your guest is comfortable.
Pro-Tip: If you want to add a bit of lift so that you can see the base of your client’s lashes, take a half-inch piece of tape, apply it gently to the eyelid, pull it over the brow and secure.

STEP 4 - Pre-Treat
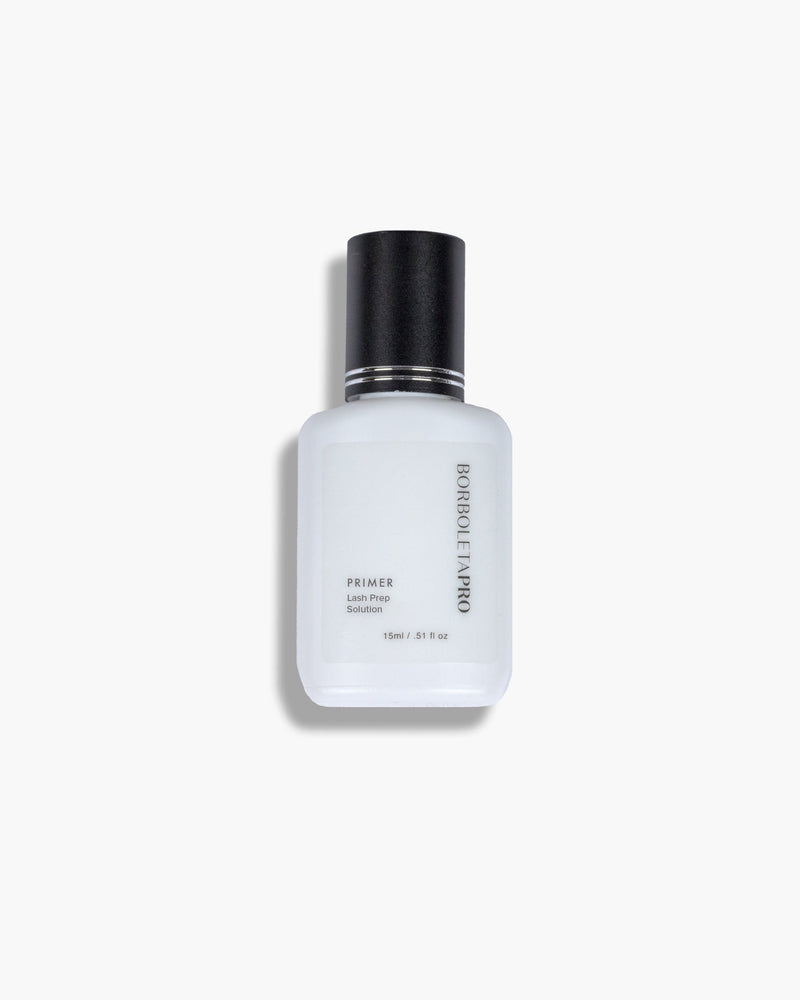
Using either Pre-Treatment or Primer, apply a saline solution with a Microswap both over and under the lashes to make sure they are prepped and ready to be lashed. Note, this step does not replace the Lash Bath cleanse—lashes must be cleaned prior to prep.
Pro-Tip: Make sure you’re using the right prepping product for both your client and your climate! The key difference between Primer and Pre-Treatment is the type of polyacrylate polymer used in each. The softer polymer in the Primer makes it great for drier climates. The super absorbent "waterlock" polymer in the Pre-Treatment, on the other hand, absorbs larger amounts of water to dry out the lash surface, and is ideal for oily lash types and humid climates.

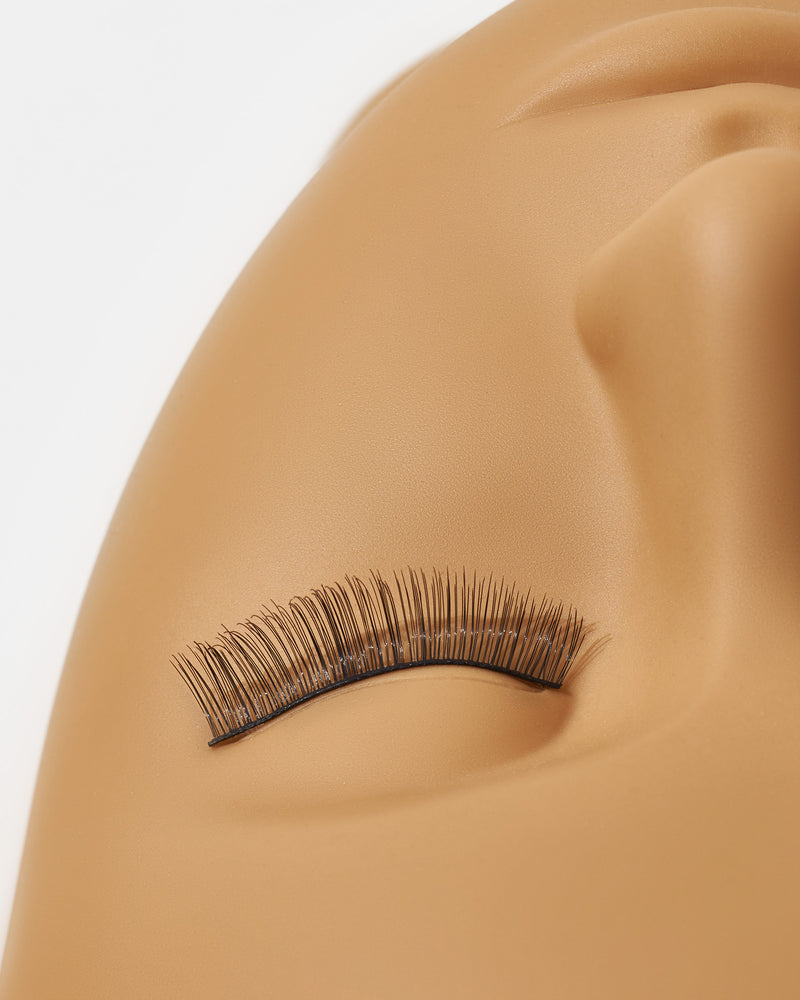
STEP 5 - Blueprint
The final step before application is blueprinting—this is where creativity reigns supreme! Blueprinting allows you to map out your game plan for each client, and helps ensure that every curl, length and diameter of extension is perfectly placed.
Starting with shorter lengths at the inner corner, this set builds up to the longest length extension hitting at the peak of the brow bone before tapering back down to the outside corner.
For a detailed deep-dive into blueprinting, read (and watch!) our Lashing Basics: Blueprinting tutorial here.

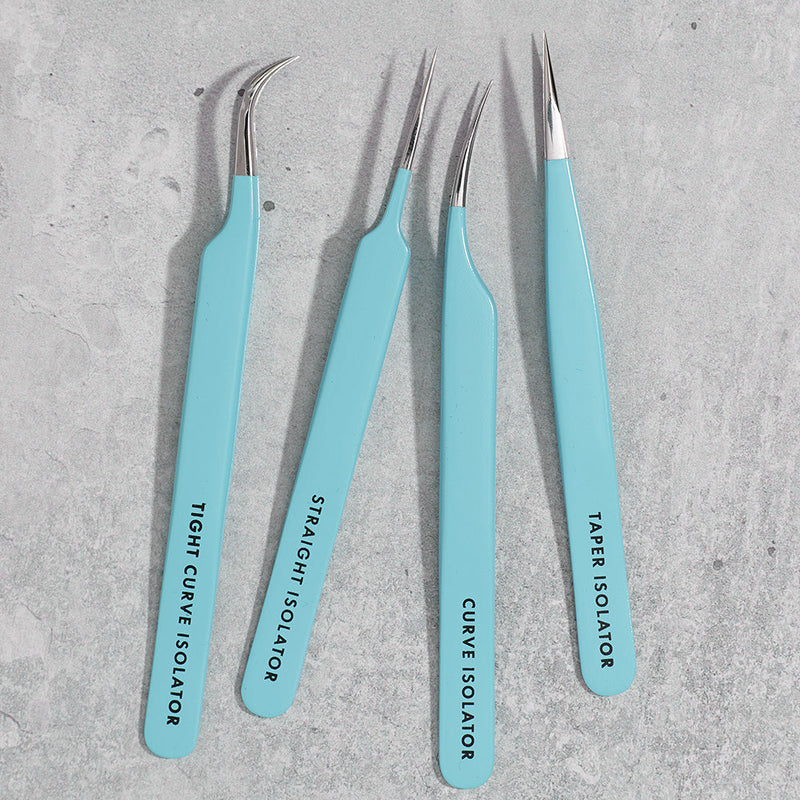
STEP 6 - Isolate
Working from the inner corners outward, isolate each natural lash prior to application. Isolation is key to healthy eyelash extensions as it prevents any interruption to the lashes' natural growth cycle.
For a more thorough isolation overview, read (and watch!) our Lashing Basics: Isolation tutorial here.

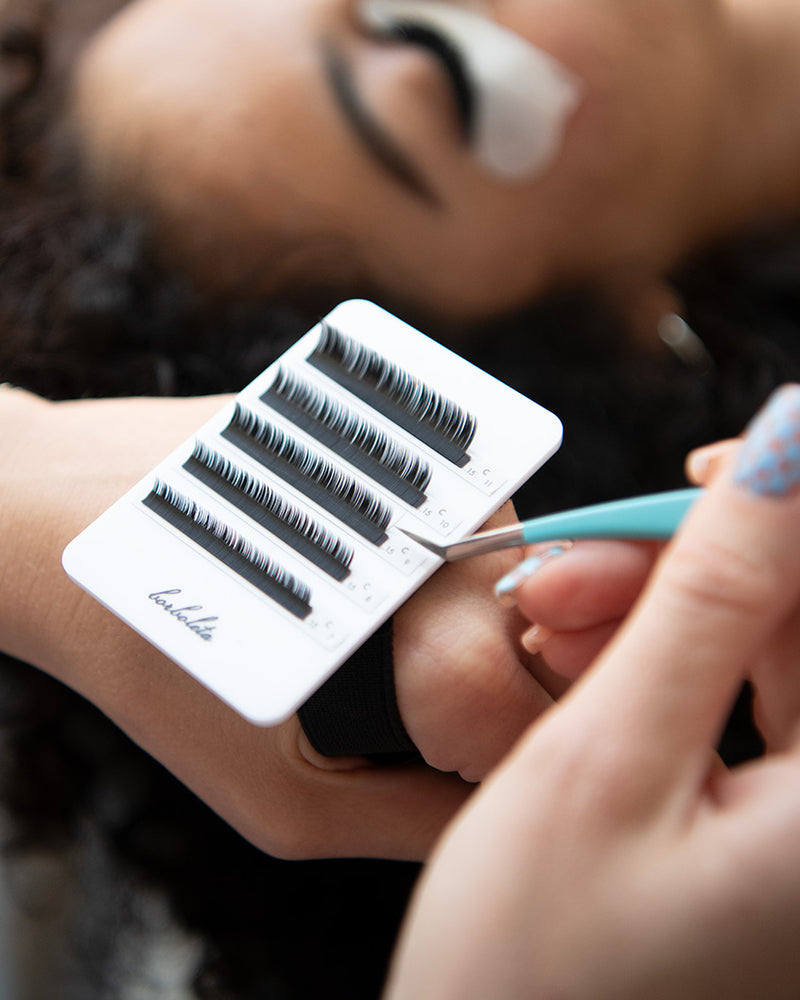
STEP 7 - Apply
Apply fans section by section, alternating between each eye. Proper application ensures you get the best possible bond and, consequently, retention.
Picking up each fan from the middle of the lash, dip into the adhesive—making sure to avoid excessive adhesive pickup—and place one fan per natural, healthy lash at the base of each lash. Be sure to hold isolation long enough to allow the adhesive to dry.
Need help with your fan pro-prep? We’ve got you covered with three different technique how-tos: the Borby Bubble; Pinching; and the Fan & Grab. Want to see these techniques in action? Head over to our Youtube channel to watch!
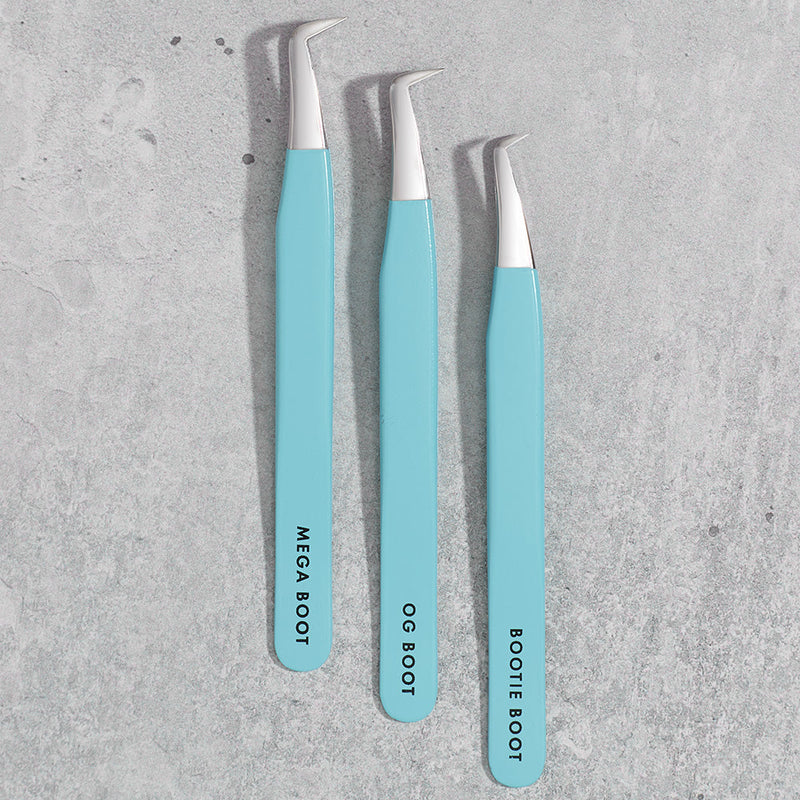
How To Fan

The Borby Bubble
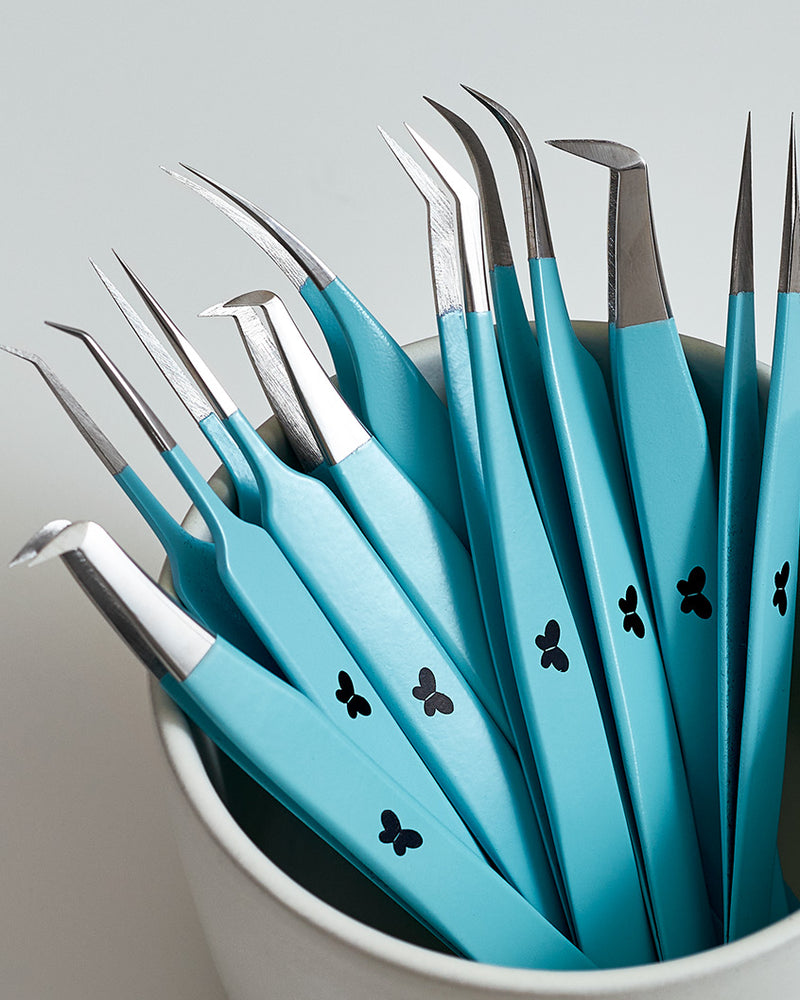
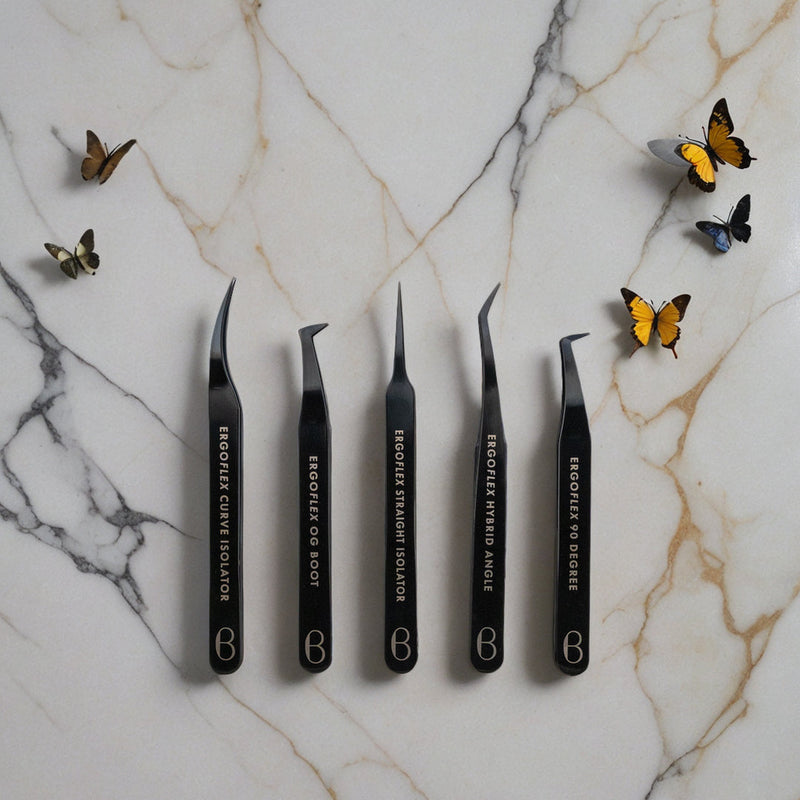
With your favorite boot tweezer positioned half-way down the extensions, begin to slowly pull a cluster of lashes away from the strip. Prior to fully removing the lashes from the strip, reposition your tweezer so that it sits closer to the base of the cluster—this helps keep all those bases together.
Next, use firm pressure to push the cluster into the edge of your Borby Bubble at a 90 degree angle—the cluster should immediately open up! Finally, style, and remove your flawless fan by positioning your boot at a 45 degree angle and pulling straight up.

Pinching
With your favorite boot tweezer positioned half-way down the extensions, begin to slowly pull a cluster of lashes away from the strip. Prior to fully removing the lashes from the strip, reposition your tweezer so that it sits closer to the base of the cluster.
Next, place the cluster between your thumb and index finger on the opposite hand, and roll the base of the cluster between your fingers while gently pulsing the top of the cluster with your boot to fan it out.

Fan & Grab
With your favorite boot tweezer positioned half-way down the extensions, slowly lift a cluster of lashes halfway off the strip and away from the other lashes. Next, run the tip of your tweezer lightly over the base of the cluster to open up the fan. To pick up, position your tweezer halfway down the fan, and pull up and away from the strip maintaining even tension.
Pro-Tip: Fan & Grab lashes from the side of the lash strip that matches your dominant hand.
STEP 8 - Untape
Once application is complete, ensure no extensions are sticking to the gel pad, and gently untape both eyes making sure to hold and secure the eyelid and under eye as you peel the tape away—we don’t want to tug, pull or irritate this very sensitive and delicate skin!


STEP 9 - Mist & Set
Before instructing your guest to open their eyes, comb through the lashes to ensure each extension is perfectly placed, and nano-mist both eyes to fully cure and set the adhesive. As a best practice, ensure that you hold the nano mister 10 inches away from the eyes.

STEP 10 - Cooldown
Last but not least, apply a Cooldown Calming Eye Mask to each undereye to send your client off relaxed and refreshed! Not only do Cooldown Eye Masks make for a more luxe experience, but it also sets you up for retail upsell opportunities.
More of a visual learner? Check out our Lashing Basics: Nailing the Volume Set tutorial below for a step-by-step how-to on perfecting this fundamental technique.


For more lashing tips and tricks, check out the BorboletaPro educational offerings for our full lashing curriculum lineup—including our To the Max with Mega Volume Course. And don’t forget to tag us on our IG @borboleta.pro to share all of the fabulous looks you create for your clients.

